

How to change Node Version on Windows
Change node version windows – Quick read
- Uninstall old Node version.
- Pick a new version to download from https://nodejs.org/dist/.
- Pick “Node-Vxx.msi”.
- Install the new version.
- Restart the terminals.
It’s easy to change the node version on windows and goes quite fast if you know how to. So in this post I way will show you how to uninstall the old one and install a new Node version for Windows in minutes.
- Installed the wrong one.
- Need to downgrade because of project dependencies.
- Need to upgrade because of project dependencies.
- Test if your project allows a newer version of node.
- Have to reinstall Node on your computer.
This is only if you have Node installed from before, if you need to install Node from scratch take a look here!
There are other ways to do this if you need to switch Node versions a lot on windows. But there are some reasons why you need to change your current version without installing nvm, which can take some time.
If you need to change Node version a lot, checkout “nvm”s Github project https://github.com/coreybutler/nvm-windows
Changing Node Version
Unistall Node js
First, before installing a new Node version you have to uninstall the old one, that is easily done with the uninstall program, this should already be installed, if you have Node installed.
Now do a search for “Node” in Windows, and you should see this:

Pick new Node version
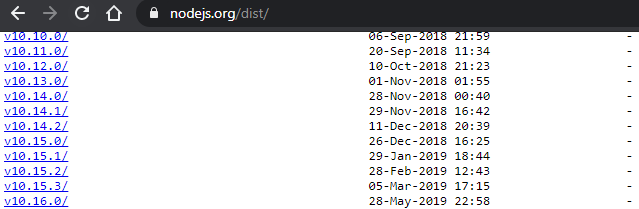
Now when Node is now uninstalled you should download the new version you need from this URL: https://nodejs.org/dist/.
So if you take a look at the picture below, is where you select what version of Nodejs you need. Most of the time, the latest major version will work. But some packages might require a specific version.
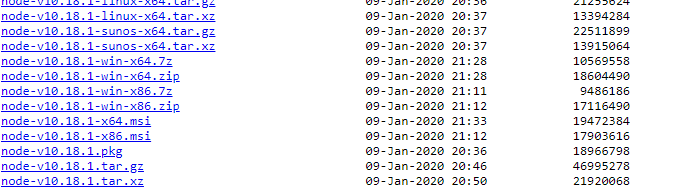
Select correct MSI version
When you have picked the correct version, pick “Node-Vxx.msi” and select 64 or 32(86) bit depending on your Windows version. The MSI is the new installer program and the easiest way to install Node on Windows with help of the installer program.
Now when the download of the MSI is complete, run the installer, restart the terminals and the new Node version is installed!
If you ever need another version, just run this tutorial again and change Node version again, and you can do this how many times as you like.
So lets do a quick recap!
Recap
- Uninstall old Node version.
- Pick a new version to download from https://nodejs.org/dist/.
- Pick “Node-Vxx.msi”.
- Install the new version.
- Restart the terminals.


Amazing blog!
Amazing blog! Is your theme custom made or did you download it from somewhere?
A theme like yours with a few simple tweeks would really make my blog stand out.
Please let me know where you got your design. Thanks a lot
Heamz Official
Great post, Eric! I found the step-by-step instructions really clear and helpful. Changing Node versions used to be a hassle for me, but your tips made it so much easier. Thanks for sharing!
Spotify music saver
Great guide, Eric! I found the step-by-step instructions easy to follow. Switching between Node versions has always been a hassle for me, but your tips made it a breeze. Thanks for sharing!
Remini
Thank you for this clear and concise guide! I struggled with switching Node versions on Windows before, but your step-by-step instructions made it much easier. Appreciate the tips on using nvm as well!
sssFacebook
Thanks for the clear instructions, Eric! I finally managed to switch my Node version without any issues. Your step-by-step guide made it super easy to follow. Keep up the great work!