
How to enable Hyper-V in Windows 10
Quick Read
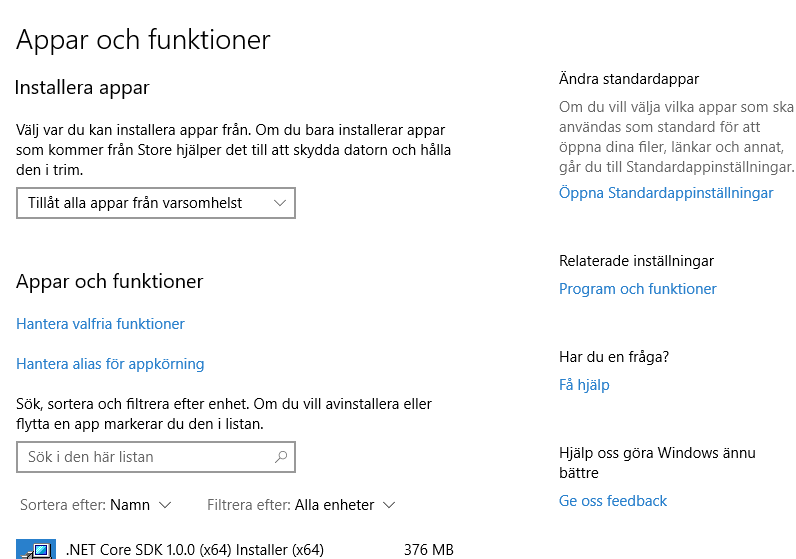
- Open programs in Windows Settings.
- Click program and functions.
- Click Activate or deactivate Windows-functions.
- Select Hyper-V and all child nodes.
- Restart computer.
Here is how to enable Hyper-V in Windows 10!
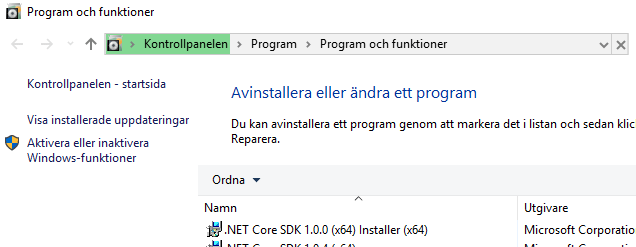
First, got to add or remove programs in Windows, and click “Program and functions”, as shown below.
Secondly, at this screen, click Activate or deactivate widows-functions.
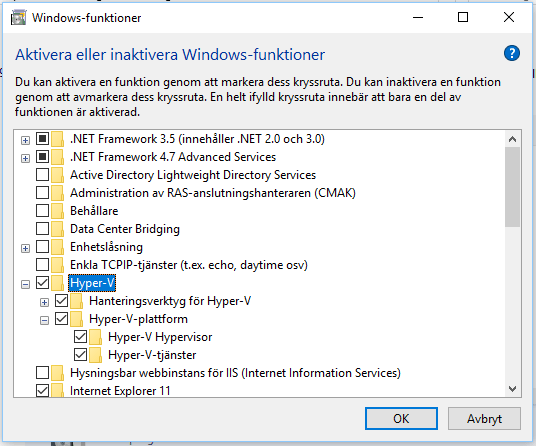
If you take a look at the image below. This is the final step in how to enable Hyper-V in Windows 10. Just make sure Hyper-V is selected. And now you should make sure all nodes and child nodes is selected, otherwise Hyper-V might not be enabled properly and this last step might not work as expected.
- If Hyper-V is not selected, select it with all child nodes and restart the computer


How to install Microsoft .NET MAUI on Windows - Eric S Jennerstrand
[…] Enable Hyper-V on your computer for a faster emulator (optional, but worth it). Check out this post to see how! […]
Hey
Hey I know this is off topic but I was wondering if you knew
of any widgets I could add to my blog that automatically tweet my newest twitter updates.
I’ve been looking for a plug-in like this for quite some time and was hoping maybe
you would have some experience with something like
this. Please let me know if you run into anything.
I truly enjoy reading your blog and I look forward to your new updates.