

Tutorial on how to develop your first .NET MAUI app
This tutorial on how to develop your first .NET MAUI app will very describing go through how you create you first .NET MAUI app. There will be other tutorials on my blog on more advanced features of .NET MAUI, but this is the first step!
The very first step you need to do before creating a .NET MAUI app is to install all the feature. I have a tutorial on how to install .NET MAUI here.
Create the .NET MAUI solution
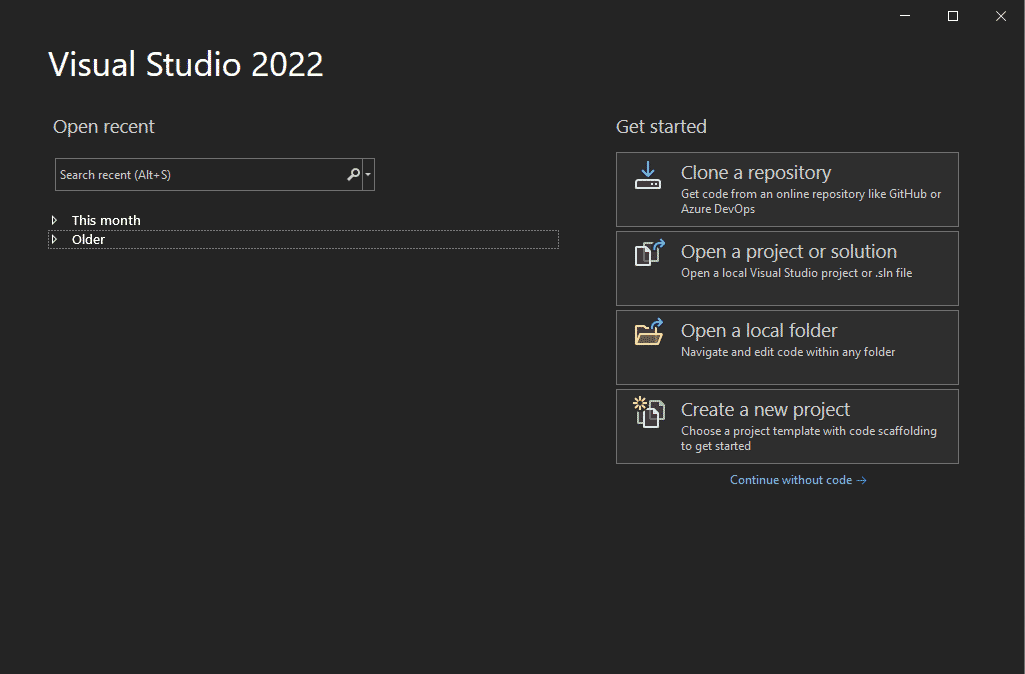
The next step is to start up Visual Studio 2022 (2022 is important because .NET MAUI runs on .NET6). If you don’t have that installed, check out the post above.
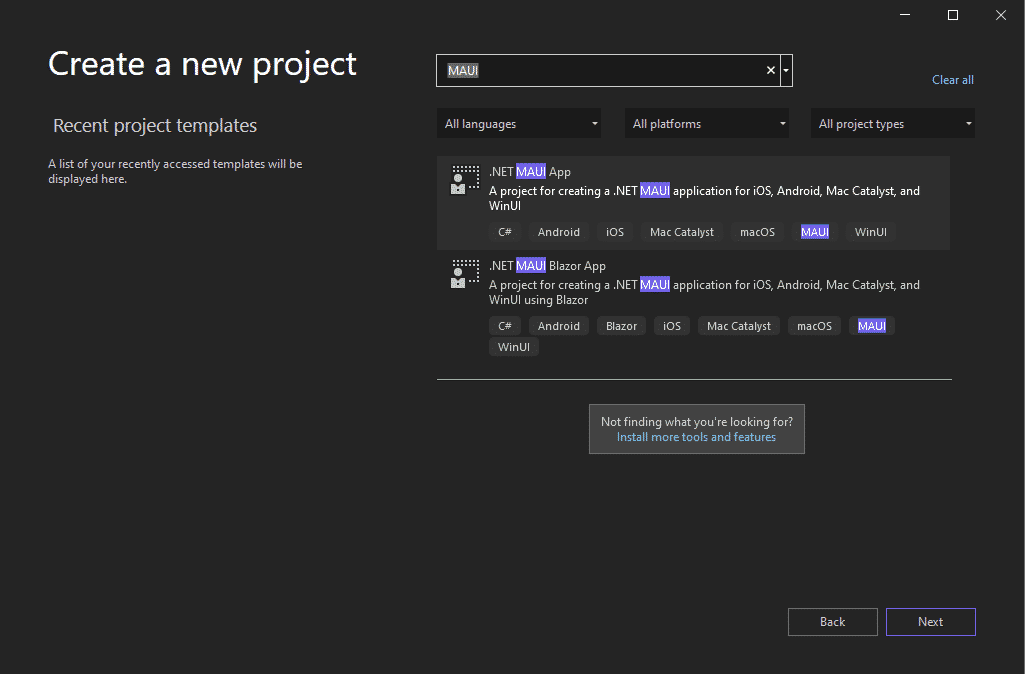
After that you need to select the correct project, I choose .NET MAUI App, but you can also select .NET MAUI Blazor App if you have experience in Blazor.
Explore you .NET MAUI code
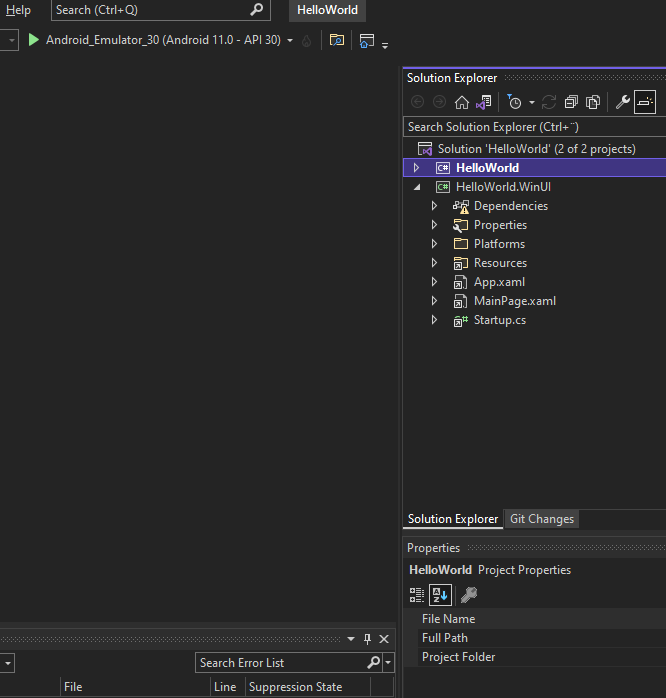
When the project is loaded, you should see this view. With the code to the right in the Solution explorer, go ahead and explore it! When you are ready to launch your first .NET MAUI app, just click the green arrow with the emulator! That should build and compile the project and start up the emulator.
Your first .NET MAUI APP
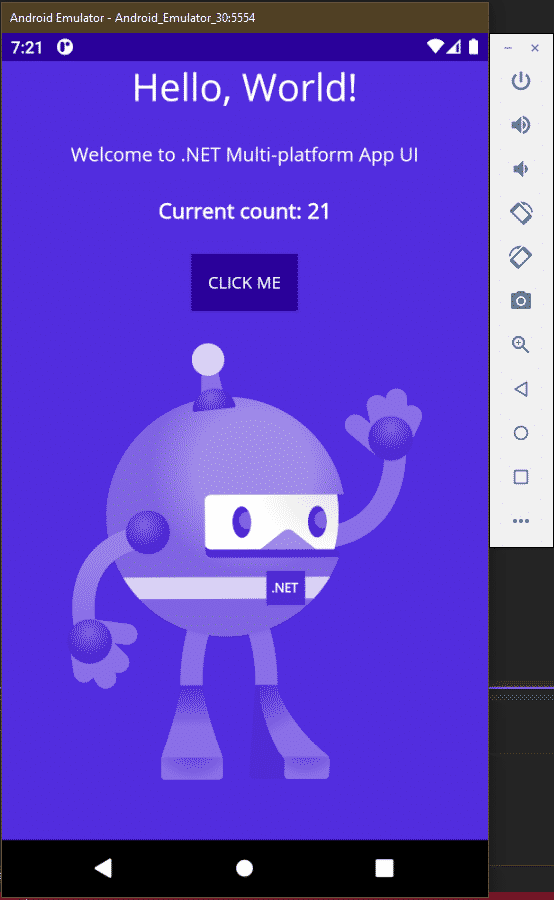
If this view pops up, everything worked correctly! Congratulations, your first .NET MAUI app. How cool is that?!
If this didn’t pop up directly, don’t worry, it happens. Look below for some troubleshooting.
Troubleshoot
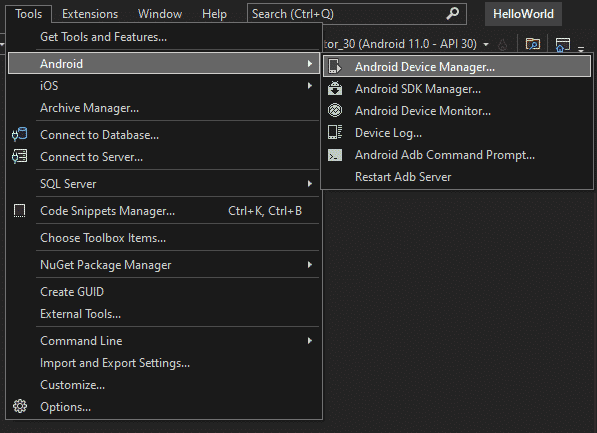
- Open Tools => Android => Android Device Manager. And see if you can start the emulator manually, or if you get an error message.
- Try to push the green arrow again.
- Try restarting your computer one time.
- If nothing else works, go through this guide on how to install .NET MAUI and make sure every step is completed. https://www.jennerstrand.se/install-microsoft-net-maui-on-windows/
- You can also leave me a comment below if you need help, I will answer it! I promise!

How to install Microsoft .NET MAUI on Windows - Eric S J - C#, .NET and more!
[…] Do you already know how to how to install Microsoft .NET MAUI on Windows? Or do you want to learn how to create your first awesome .NET MAUI app? Take a look at this post, and I will show you a super fast step by step tutorial on how to create you first .NET MAUI app! https://www.jennerstrand.se/tutorial-on-how-to-develop-your-first-net-maui-app/ […]
How to create a ListView in .NET MAUI - Eric S Jennerstrand
[…] If you still haven’t created your first .NET MAUI app, don’t worry! You can follow these 2 really simple tutorials on how to install .NET MAUI and how to create your first .NET MAUI app.https://www.jennerstrand.se/install-microsoft-net-maui-on-windows/https://www.jennerstrand.se/tutorial-on-how-to-develop-your-first-net-maui-app/ […]